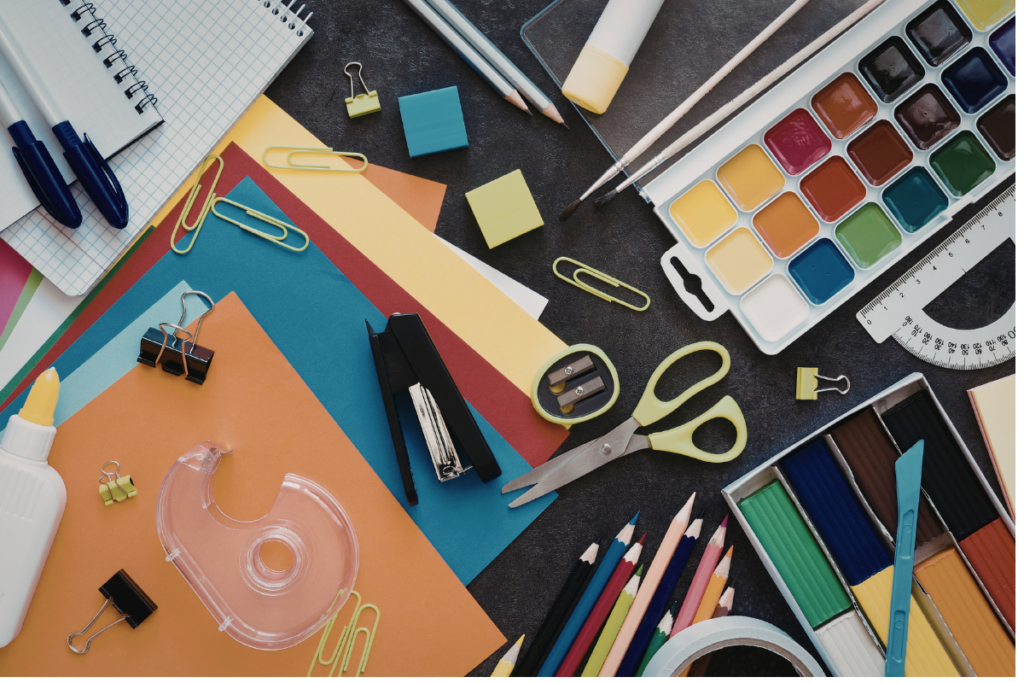
Organizing Craft Supplies
We all need tips on organizing craft supplies because every crafter knows the struggle: you start with one small kit, and before you know it, your dining room table has been swallowed by a sea of yarn, glitter, scrap fabric, and half-finished projects.
While “creative chaos” is a real thing, it’s hard to be inspired when you can’t find your favorite pair of fabric shears or that specific shade of embroidery floss. Organizing your craft supplies isn’t just about cleaning; it’s about clearing the mental space to actually create.
Here is how to turn your craft hoard into a curated studio and fun zone for kids and adults.
The Great Craft Purge
Before you buy a single plastic bin, you have to know what you’re working with. Empty every drawer and shelf.
- Test your tools: Toss the dried-out markers, the glue sticks that have lost their stick, and the dull rotary blades.
- Be honest about “Someday” projects: We all have that bag of yarn for a sweater we’ll never knit. If a project no longer excites you, donate the materials to a school, a thrift store, or a fellow crafter.
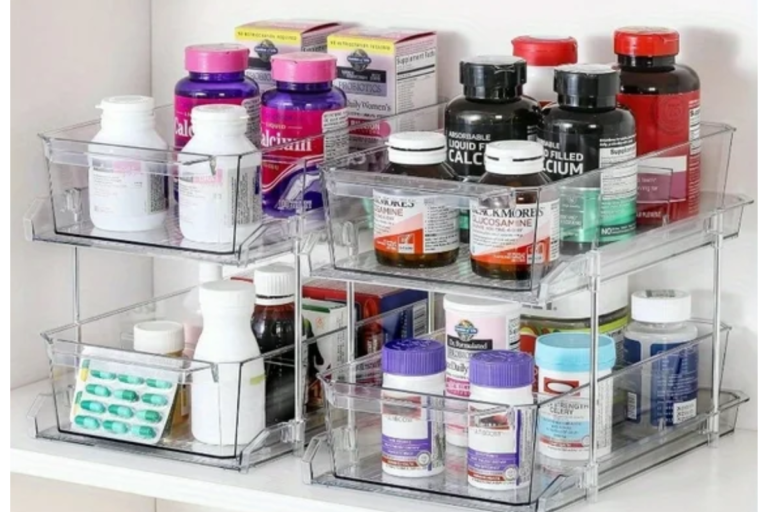
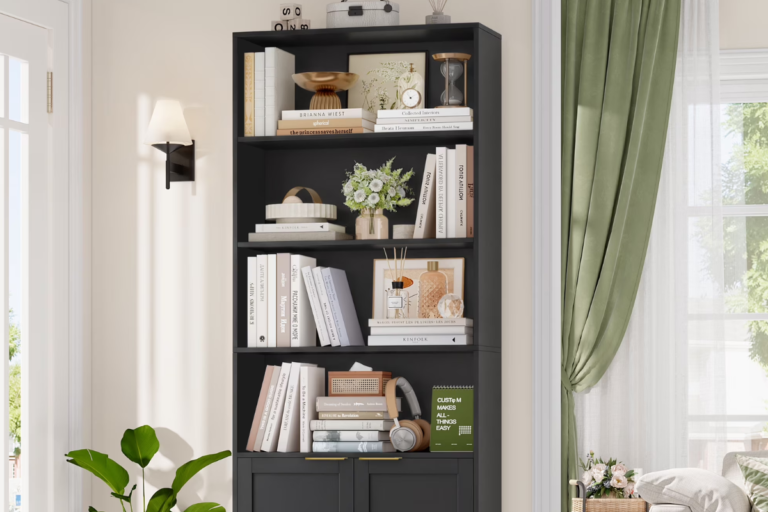
Organizing Craft Supplies So They Are Visible
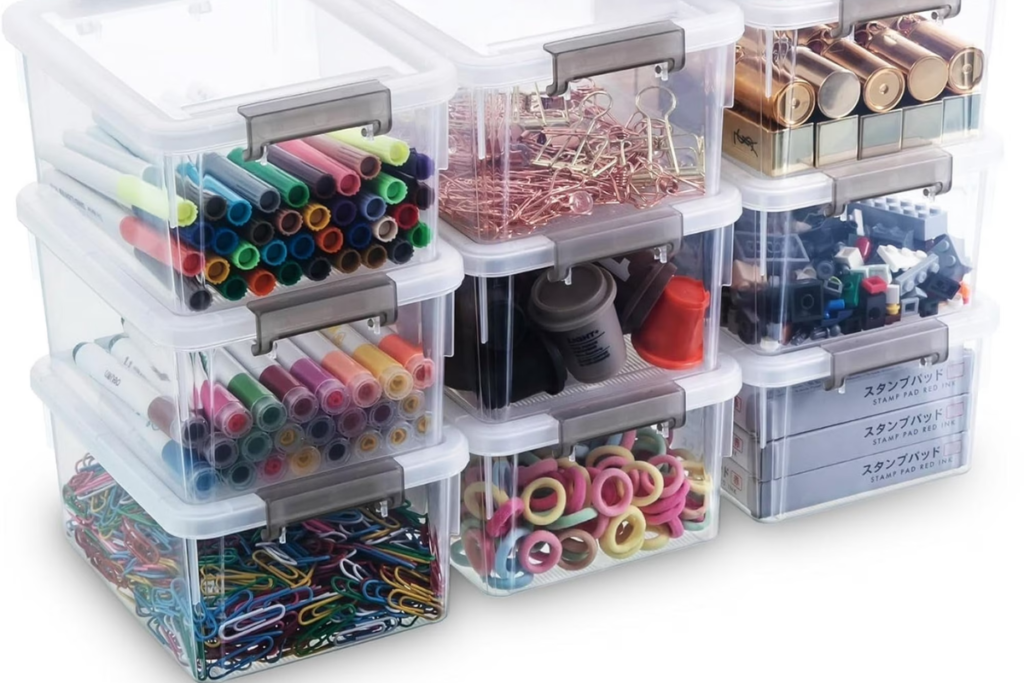
In the world of crafting, “out of sight” usually means “out of mind.” If you hide your supplies in opaque cardboard boxes, you’ll likely forget you have them and buy duplicates.
- Clear Acrylic Bins: These are the gold standard. They allow you to see colors and textures at a glance.
- Glass Jars: Use old mason jars or jam jars to store buttons, beads, ribbons, and sequins. They look beautiful on a shelf and keep small items contained.
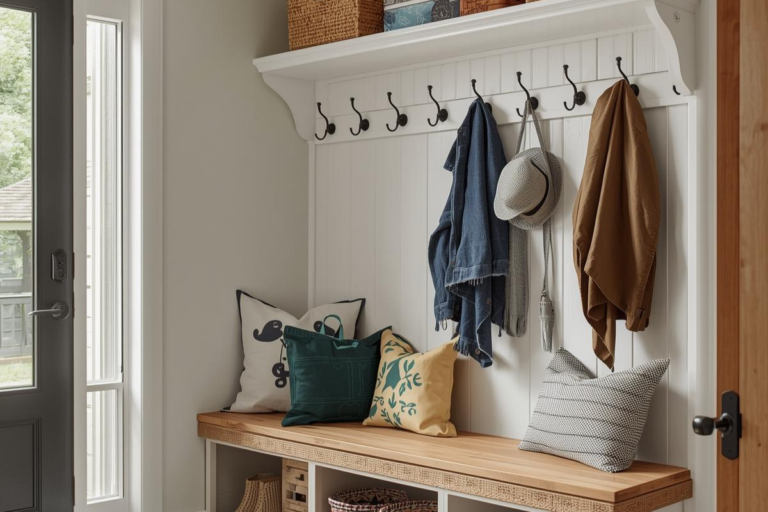
Master the Pegboard
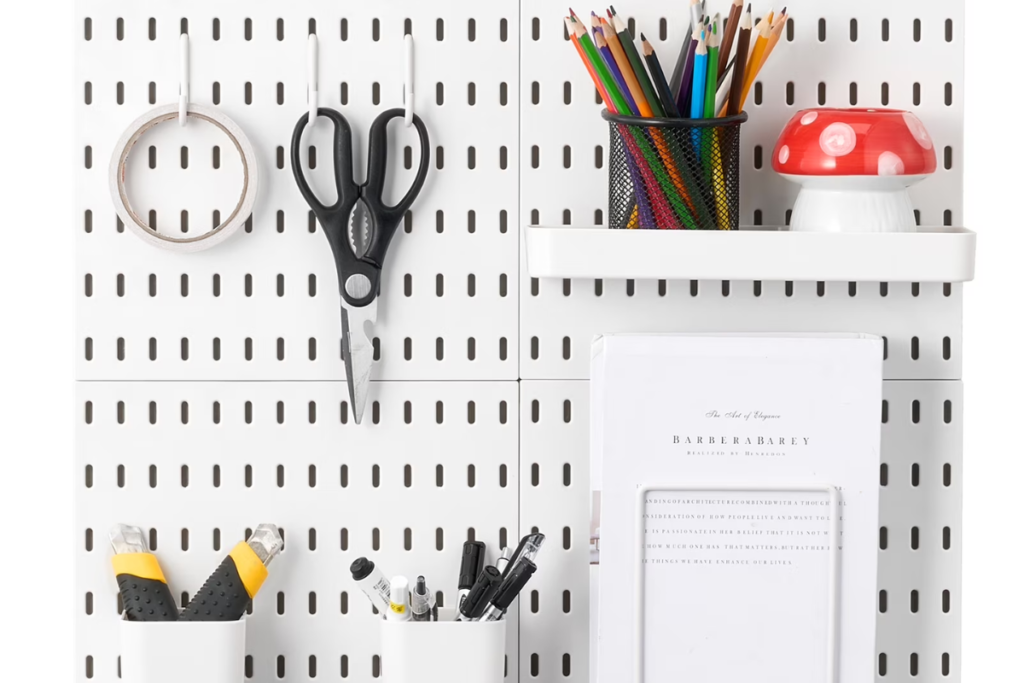
If you have a dedicated wall space, a pegboard is the ultimate craft organization tool. It’s completely customizable and keeps your most-used tools within arm’s reach.
- Hang your tools: Scissors, pliers, tapes, and rulers should all live here.
- Add baskets: Use pegboard baskets for things like paint tubes or rolls of vinyl.
- Aesthetic appeal: You can paint your pegboard a bright color to make it a focal point of your room.
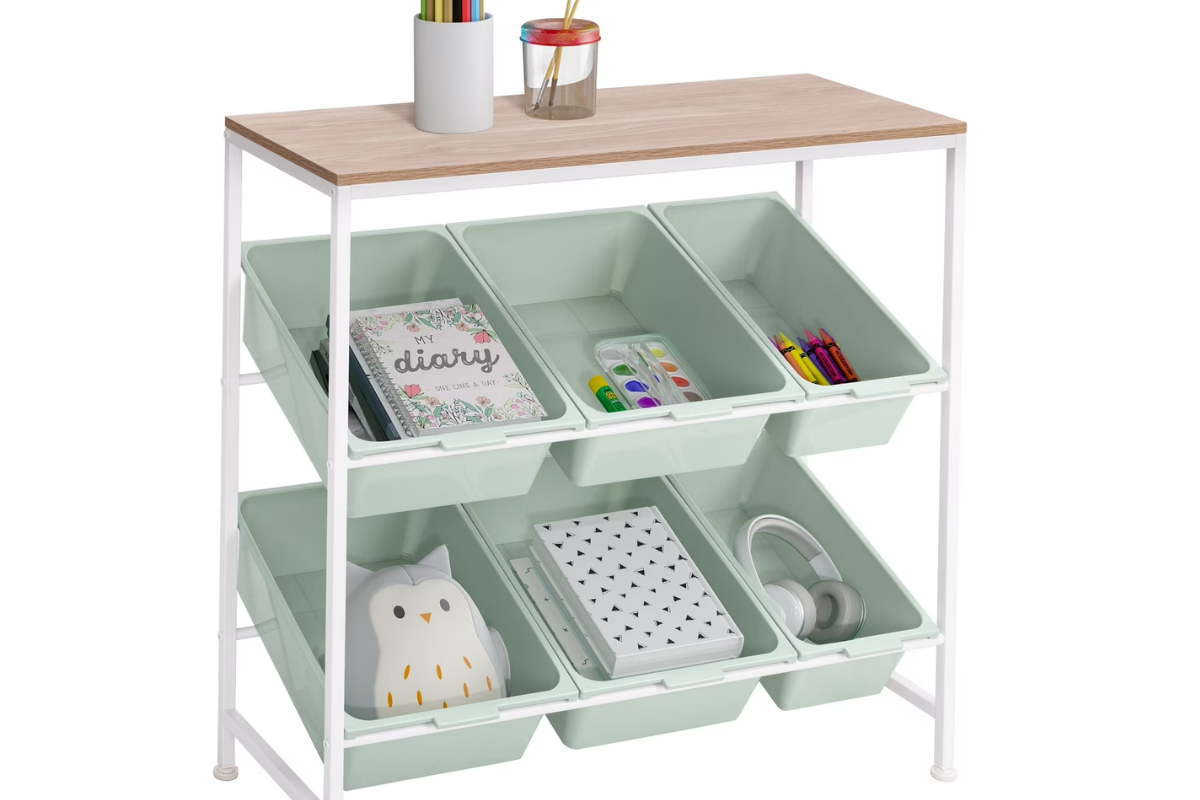
Use a Rolling Project Cart
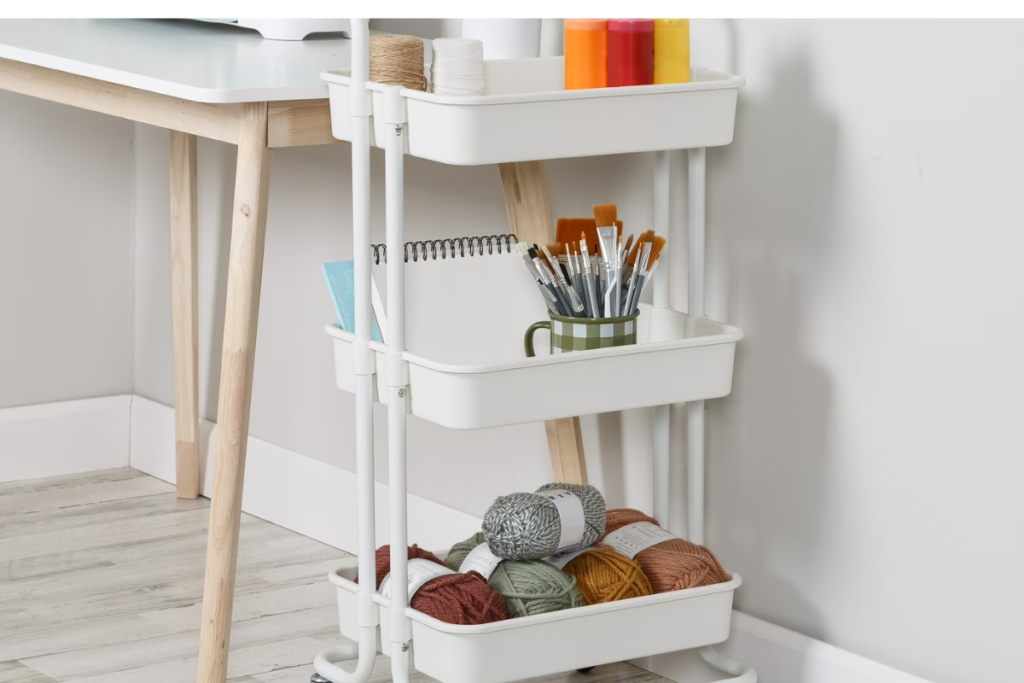
The three-tier rolling metal cart is a staple for a reason. It’s the perfect “mobile command center.”
- Top Tier: Current project supplies.
- Middle Tier: Frequently used tools (glue gun, pens, rulers).
- Bottom Tier: Bulkier items like paper pads or fabric scraps.
- Why it works: You can wheel it to the couch while you crochet, then tuck it back into a corner when guests come over.
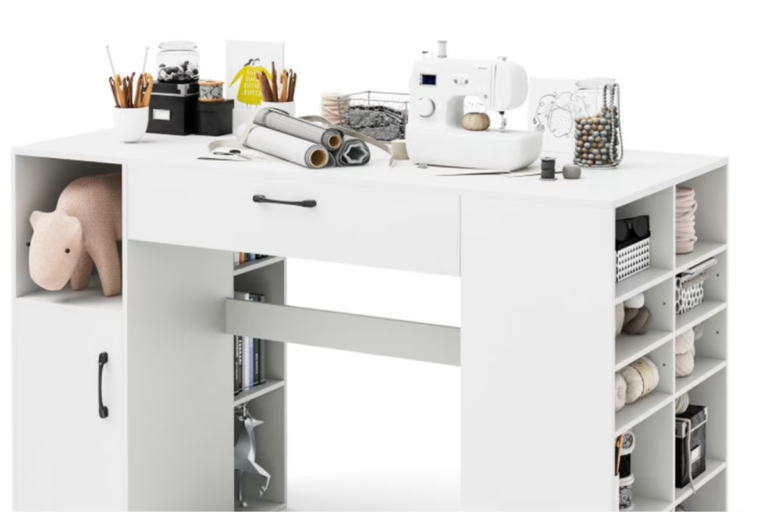
Categorize by “Type” or “Color”
Depending on how your brain works, choose a system and stick to it:
- By Medium: Keep all your watercolor supplies in one bin, all your jewelry-making supplies in another.
- By Color: For many crafters (especially quilters and paper-crafters), organizing by color is the most intuitive way to find inspiration. A rainbow-sorted shelf isn’t just organized—it’s decor!
Tame the “Scrap” Monster
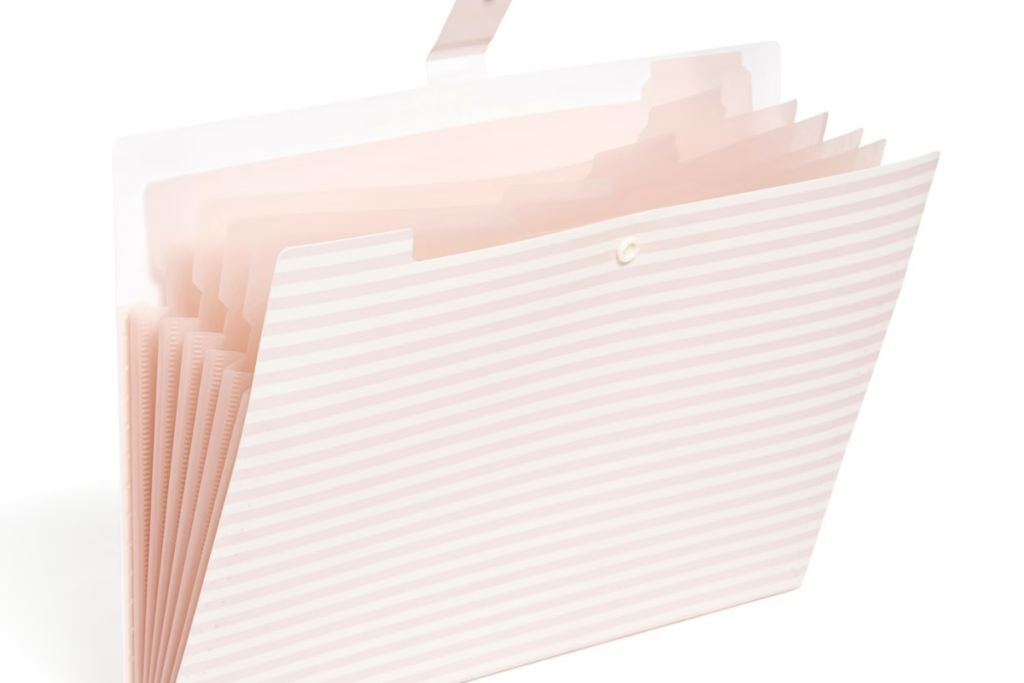
Scraps of fabric, ribbon, and paper are the hardest things to organize.
- The “Size” Rule: Decide on a minimum size. If a fabric scrap is smaller than a 5×5 inch square, toss it (or put it in a “stuffing” bin for pillows).
- Color-Coded Folders: Use accordion folders or magazine files to keep paper scraps sorted by color.
Label Everything
Even if your bins are clear, labels add that final layer of organizing craft supplies that prevents “junk drawers” from forming.
- Use a label maker for a clean, professional look.
- Use chalkboard tags for bins whose contents change frequently.
- Label the shelves as well as the bins so you know exactly where to put things back when you’re done.
Now that your organizing craft supplies go ahead and create a fun craft room