Craft Room Organization
A craft room is more than storage—it’s a place where ideas take shape, mistakes turn into learning, and creativity gets to breathe. But when supplies pile up and surfaces disappear, even the most inspired maker can feel stuck before they begin. Thus, why we all need some craft room organization.
Organizing your craft room isn’t about making it perfect or Pinterest-ready. It’s about creating a space that feels inviting, functional, and easy to return to—again and again.
Let’s build a system that supports your creativity instead of overwhelming it.
Start With a Creative Reset
Before organizing, take everything out of drawers, bins, and shelves—at least one category at a time.
This helps you:
- See what supplies you actually own
- Rediscover forgotten materials
- Clear away broken, dried-up, or unused items
Work in short sessions, so the process stays gentle and manageable.
Sort by Craft Type or Use
Group supplies in ways that make sense for how you create, not how a store displays them.
During your craft room organization, Common groupings include:
- Paper crafts
- Fabric and sewing supplies
- Yarn and fiber arts
- Painting and drawing tools
- Tools (scissors, rulers, cutters)
- Embellishments and small pieces
If an item serves multiple crafts, store it where you use it most.
Let Go of Guilt Supplies
Every craft room has materials bought with good intentions but no longer aligned with current interests.
Ask yourself:
- Do I realistically see myself using this?
- Does this inspire me—or create pressure?
- Could someone else enjoy this more?
Releasing unused supplies creates room for creativity to flow again.
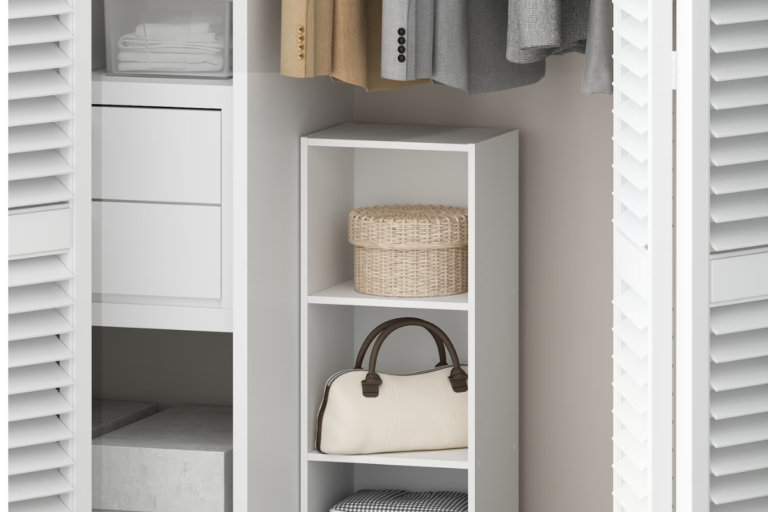
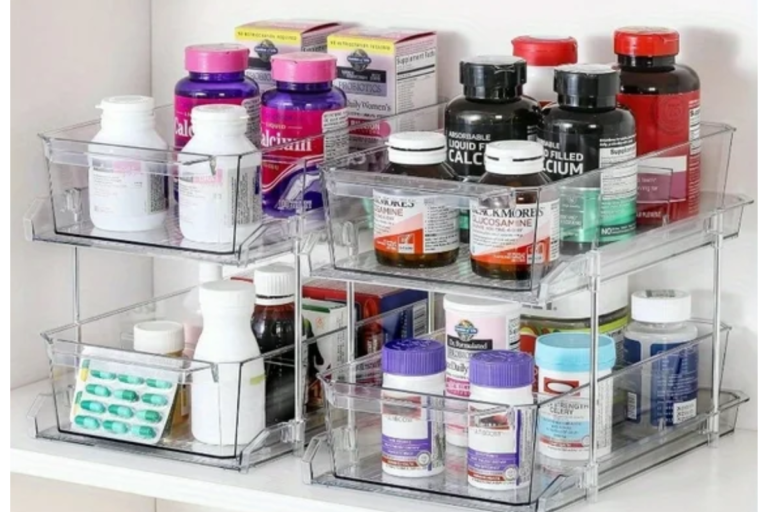
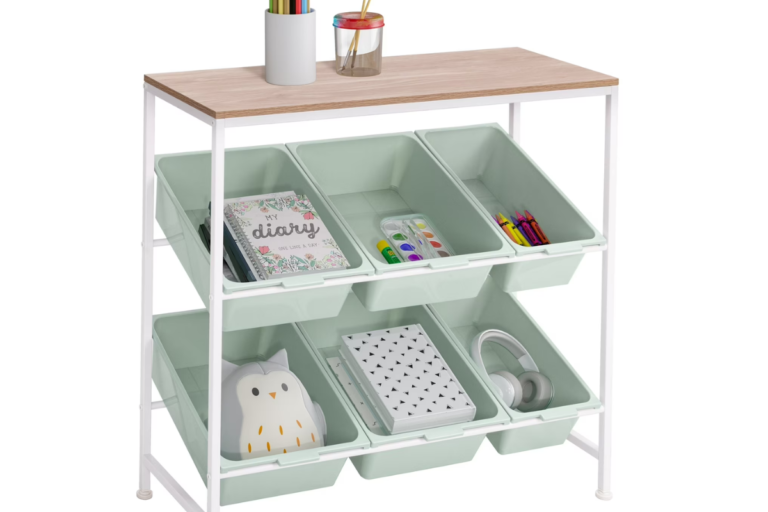
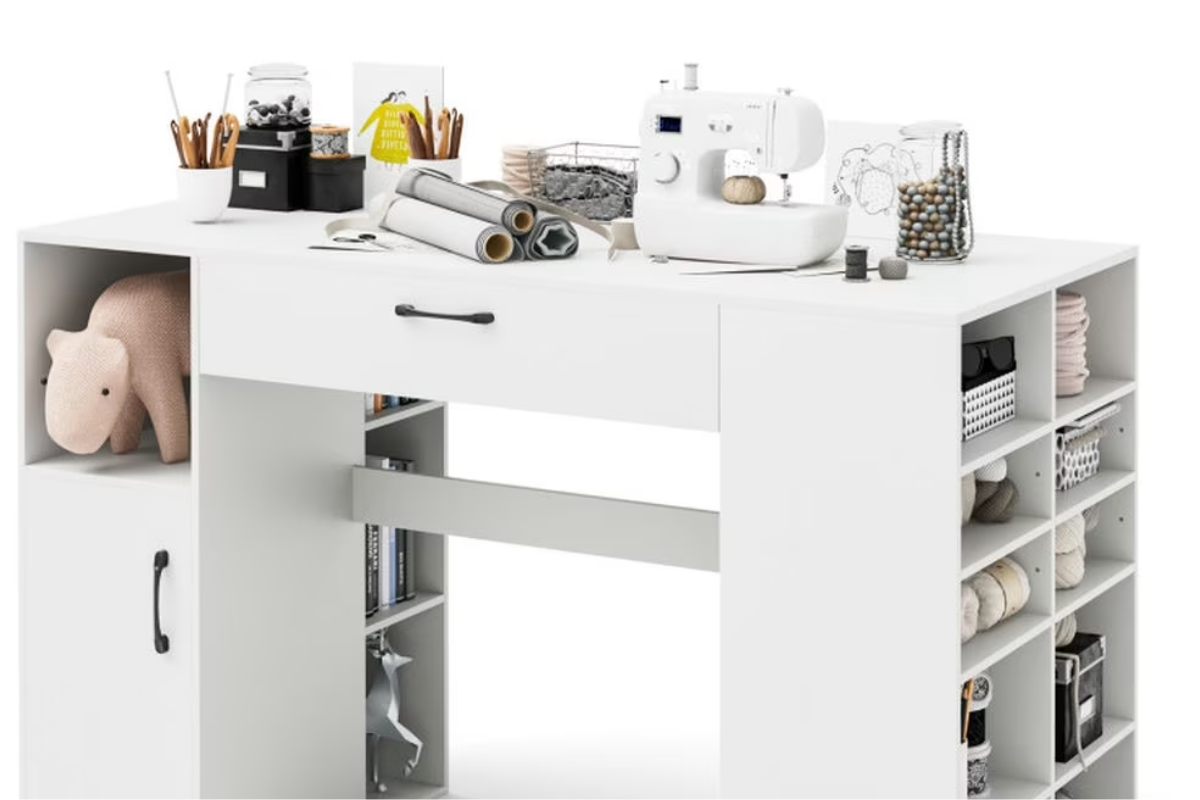
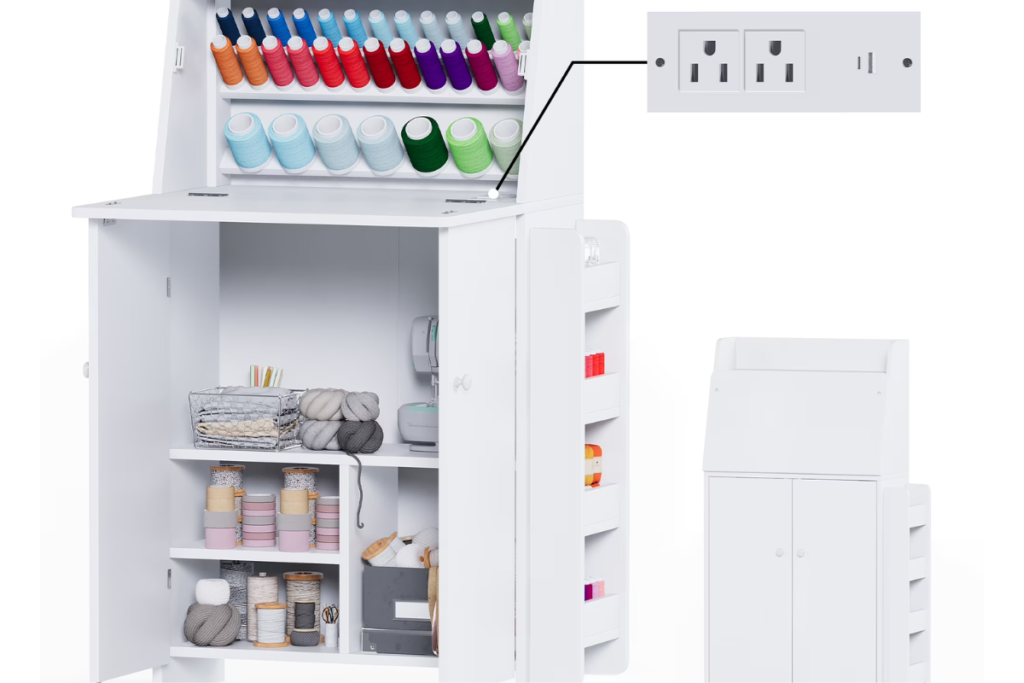
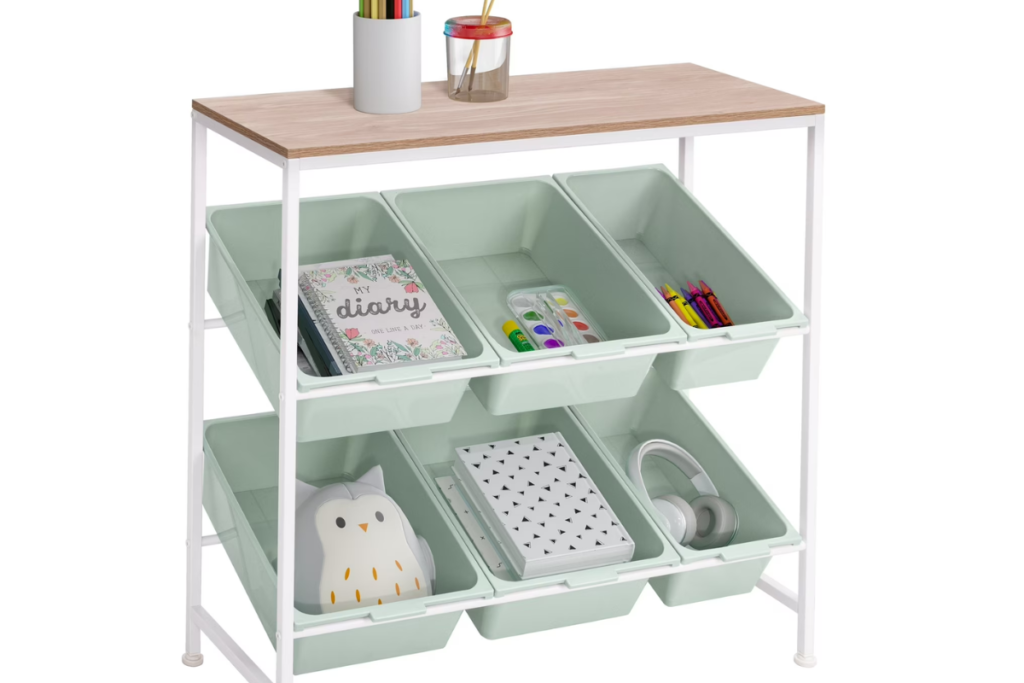
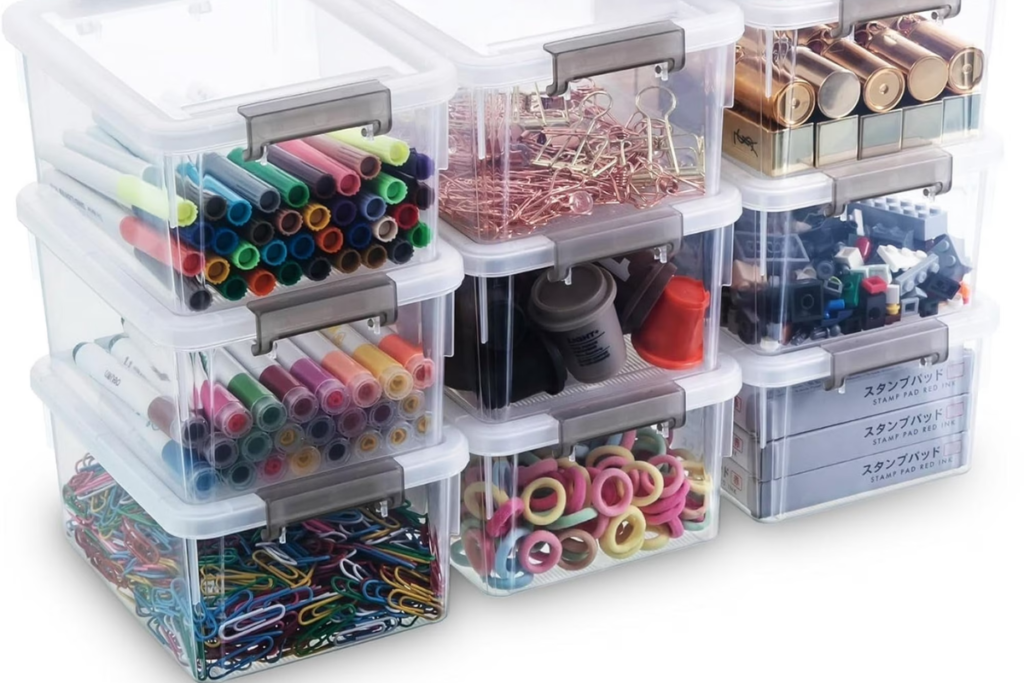
Choose Storage That Works With Your Brain

There’s no single “right” storage system—only what’s easy for you to use and maintain.
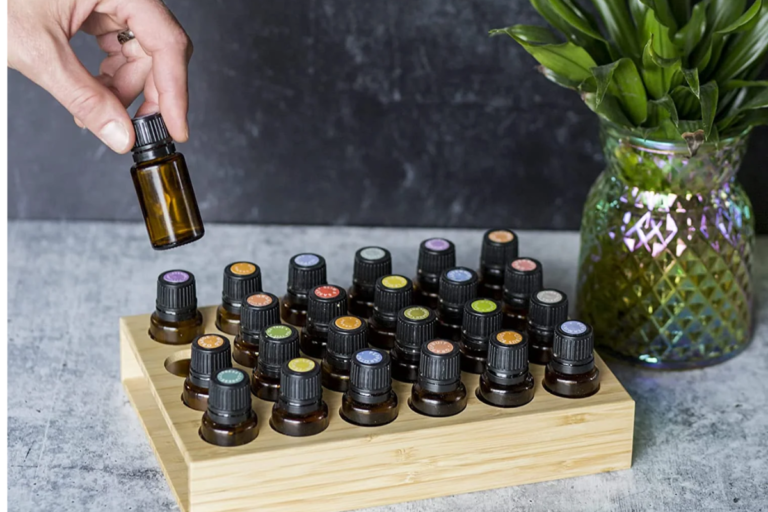
Helpful options include:
- Clear bins so you can see contents
- Drawer organizers for small tools
- Pegboards for frequently used items
- Open shelving for inspiration materials
- Labeled boxes for long-term storage
If you can put something away without thinking, the system is working.
Create Zones for Each Stage of Making
Instead of organizing only by item, organize by process.
Consider creating zones for:
- Planning and inspiration
- Cutting and prep
- Active making
- Finishing touches
- Storage and overflow
This reduces setup time and keeps projects moving forward.
Keep Your Work Surface Clear (Most of the Time)
Your main work surface should support creation, not storage.
Use:
- Vertical storage for tools
- Rolling carts for current projects
- Bins or trays to hold works in progress
A mostly clear surface invites you back into your craft.
Make It Easy to Clean Up

If cleanup feels overwhelming, creativity stalls.
Simple craft room organization solutions:
- One bin for scraps
- A small trash can within reach
- A “project pause” container for unfinished work
When cleanup is easy, starting again feels less intimidating.
Schedule Gentle Craft Room Organization
Craft rooms benefit from seasonal check-ins:
- Reassess supplies
- Reorganize based on current interests
- Donate what no longer fits
Your craft room should evolve as you do.
A Final Thought
An organized craft room isn’t about control—it’s about care. It’s a space that holds your creativity gently, without pressure or perfection.
When your supplies are easy to find and your space feels calm, creativity flows more freely.
Craft room organization doesn’t mean your craft room needs to be flawless. It just needs to welcome you back.