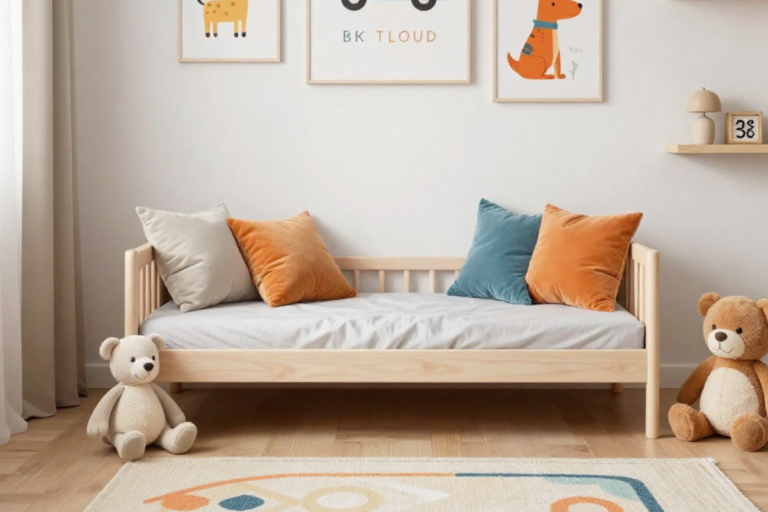
How to Organize Kids Artwork
If you’re a parent, you know the struggle. It starts with one cute finger-painted handprint. Then comes the watercolor sunset. Then the “sculpture” made of three toilet paper rolls and a gallon of glitter. As parents, we have to learn How to Organize Kids Artwork
Before you know it, your refrigerator is completely obscured, and every flat surface in your house is covered in “masterpieces.” You don’t want to be the “mean parent” who throws things away, but you also don’t want to live in a paper museum.
If you’re wondering how to store kids artwork without the clutter, I’ve got some easy, budget-friendly solutions you can pick up on your next Walmart run.
1. The “Front-Opening” Gallery
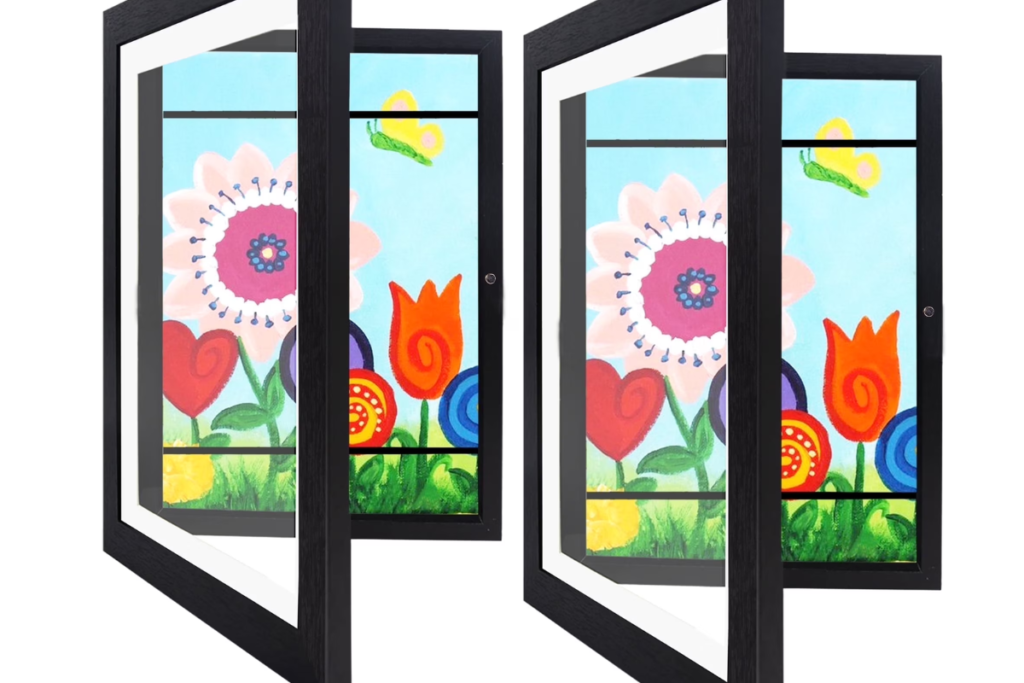
This is my absolute favorite hack. Instead of taping things to the wall, grab a few Mainstays Front-Opening Kids’ Art Frames.
These are brilliant because they look like a regular picture frame, but they open like a door. You can store up to 50 drawings inside the frame itself! When a new drawing comes home, you just open the front, pop it in over the old one, and boom—instant gallery update.
- Tip: Look for the 8.5×11 size for standard school paper or the 9×12 for construction paper.
2. The “Yearly Archive”
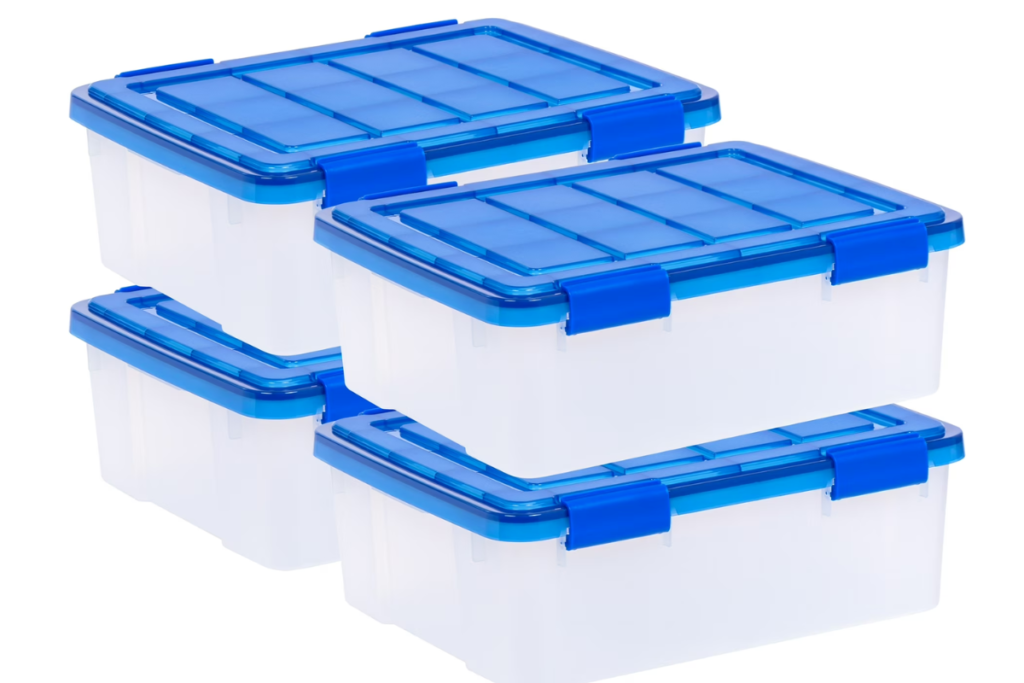
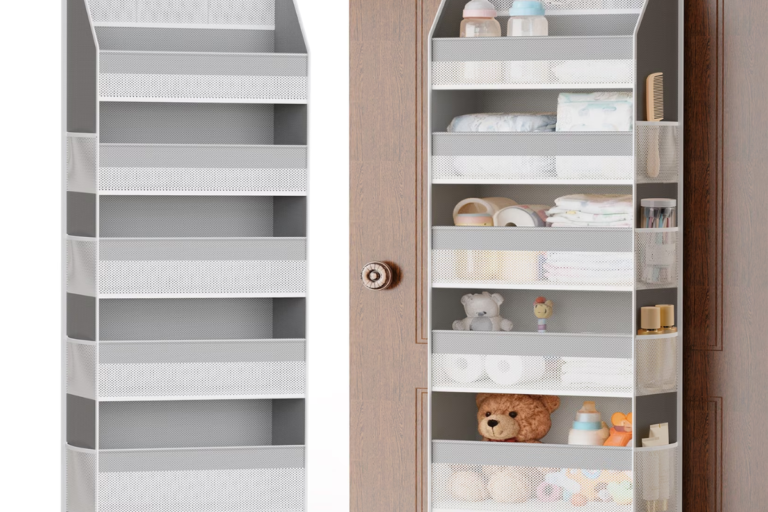
Let’s be real: you can’t display everything. For the pieces that are too sentimental to toss but don’t need to be on the wall, I swear by Sterilite Gasket Boxes.
The “Gasket” part is key because it creates an airtight seal. This protects the paper from yellowing, moisture, or—heaven forbid—spilled juice in the closet.
- The Strategy: Label one bin per child. At the end of the school year, do a “curation session” with your kid, pick the top 10-20 favorites, and tuck them away in the bin. This is such a great way when it comes to How to Organize Kids Artwork
3. The Oversized Portfolio
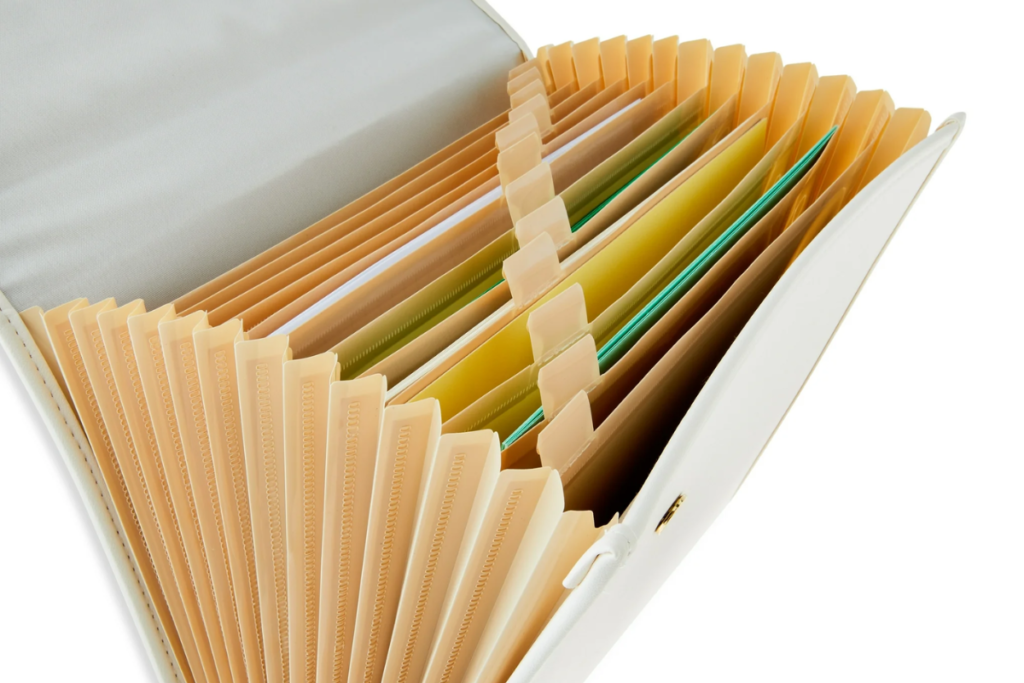
What do you do with those giant, awkward poster boards or the oversized paintings from art class? They don’t fit in a standard bin or frame.
Head to the school supply aisle at Walmart and look for Pen+Gear Expandable Portfolios or large artist portfolios. These are slim enough to slide under a bed or behind a dresser, keeping those big masterpieces flat and protected instead of rolled up and wrinkled.
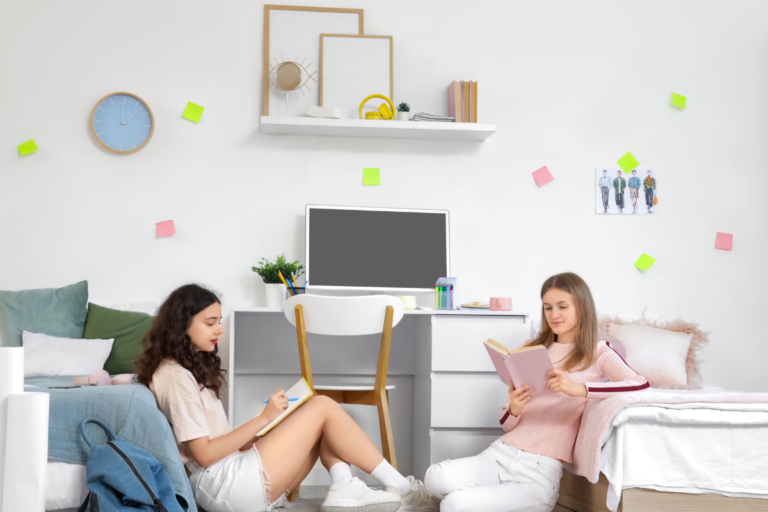
4. The “Clothesline” Display

If you want a more “boho” and flexible way to show off art, you just need two things: Command Small Wire Hooks and some decorative clips or clothespins.
String some twine across a playroom wall between the hooks and use the clips to hang the latest creations. It’s the easiest way to handle high-volume art production because you can swap things out in seconds.
- Tip: Grab the Command Picture Hanging Strips while you’re at it—they are a lifesaver for hanging heavier frames without ruining your drywall. These are great for How to Organize Kids Artwork
6. The Digital Solution
Okay, this isn’t a physical product, but it’s a vital tip: Take a photo.
For the 3D projects (the popsicle stick houses and clay blobs), take a high-quality photo of your child holding their creation. You can print these photos later into a small photo book using the Family Album App. It takes up way less space than a box of crumbling macaroni art! It’s such a great way to learn How to Organize Kids Artwork
Final Thoughts

Learning how to store kids artwork is all about balance. You want to celebrate their creativity without letting the paper take over your life. By setting up a “Display, Archive, and Digital” system, you can keep the best memories and recycle the rest (guilt-free!).
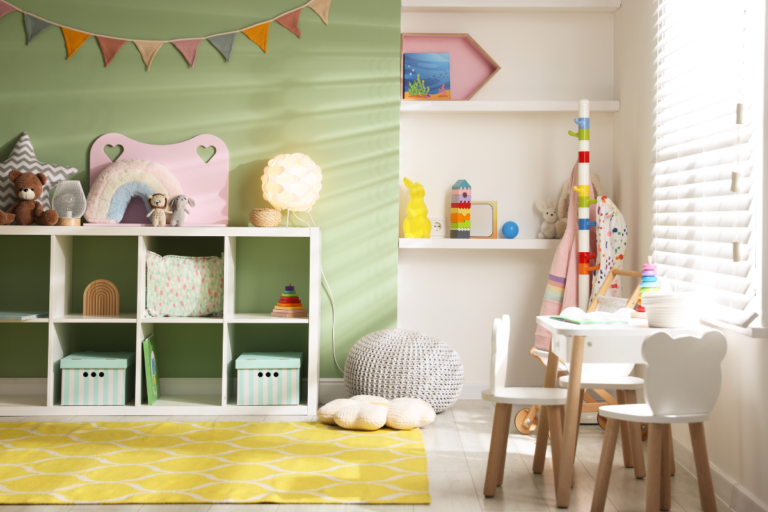
Also check out how to organize a playroom.