Paper Organization Tips
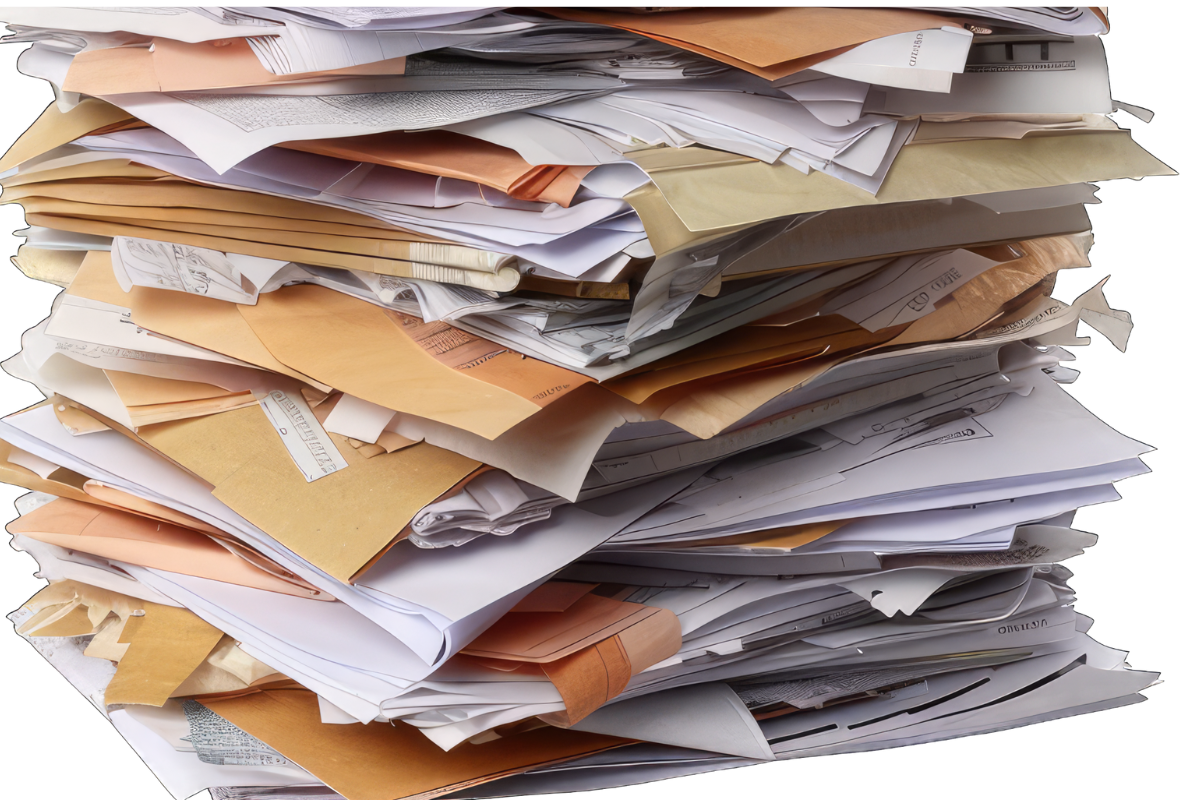
All of us need a paper organization system because paper clutter has a sneaky way of piling up. Mail, school forms, receipts, medical documents, warranties, bills—it all seems important, so we keep it… and then suddenly we’re drowning in stacks.
Paper organization doesn’t have to be complicated or stressful. With a simple system, you can finally feel calm, confident, and in control of your paperwork.
Let’s walk through it step by step.
Step 1: Gather Everything in One Place

Start by collecting all your paper from around the house—kitchen counters, backpacks, drawers, piles, folders, and bags.
Yes, this might look overwhelming at first—but seeing everything together helps you make clear decisions.
Step 2: Sort Into Simple Categories
Don’t overthink this. Use broad, easy categories:
Common Paper Categories:
- Action Needed (bills to pay, forms to sign)
- To File (important documents)
- School (if you have kids)
- Medical
- Financial
- Home & Auto
- Manuals & Warranties
- Keepsakes
- Shred/Recycle
If you’re unsure about a paper, place it in a “Decide Later” pile. Momentum matters more than perfection.
Step 3: Create a Command Center
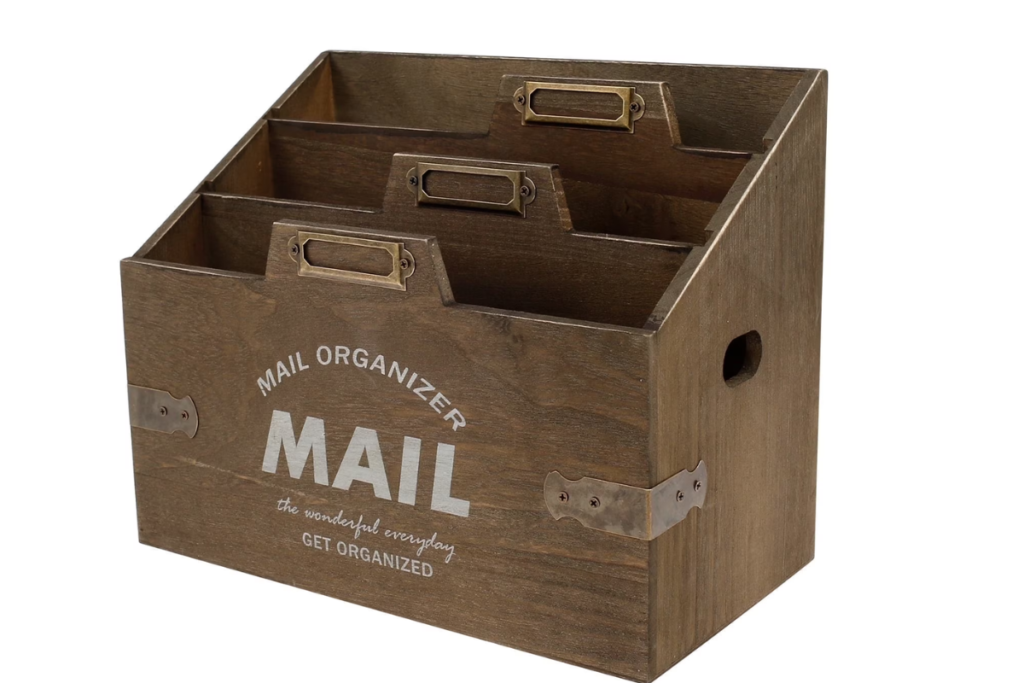
A paper command center is a small, designated area where important papers live.
This might include:
- A desktop file sorter
- Wall pockets
- A small drawer system
- A binder
Your command center should hold:
- Incoming mail
- Action items
- Weekly papers
- School forms
- Appointment reminders
This prevents paper from migrating all over your house.
Step 4: Use a Filing System That Makes Sense to You
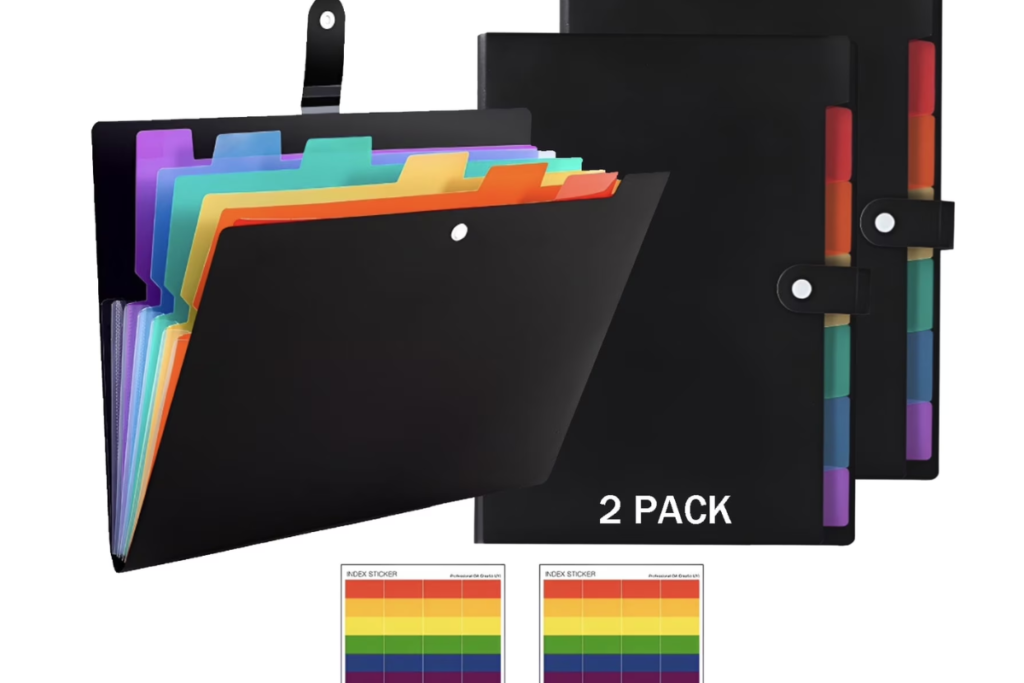
The best filing system is the one you’ll actually use.
Simple Filing Options:
- Alphabetical: Banking, Insurance, Medical, Taxes, etc.
- By Family Member: One folder per person
- By Year: Great for receipts and taxes
- By Category: Home, Auto, Health, School
Avoid complicated subfolders unless you truly need them.
Step 5: Decide What You Don’t Need
Most paper clutter exists because we’re afraid to throw something away.
Here’s a general guide:
Toss or Shred:
- Old grocery receipts
- Expired coupons
- Junk mail
- Duplicate documents
- Outdated school papers
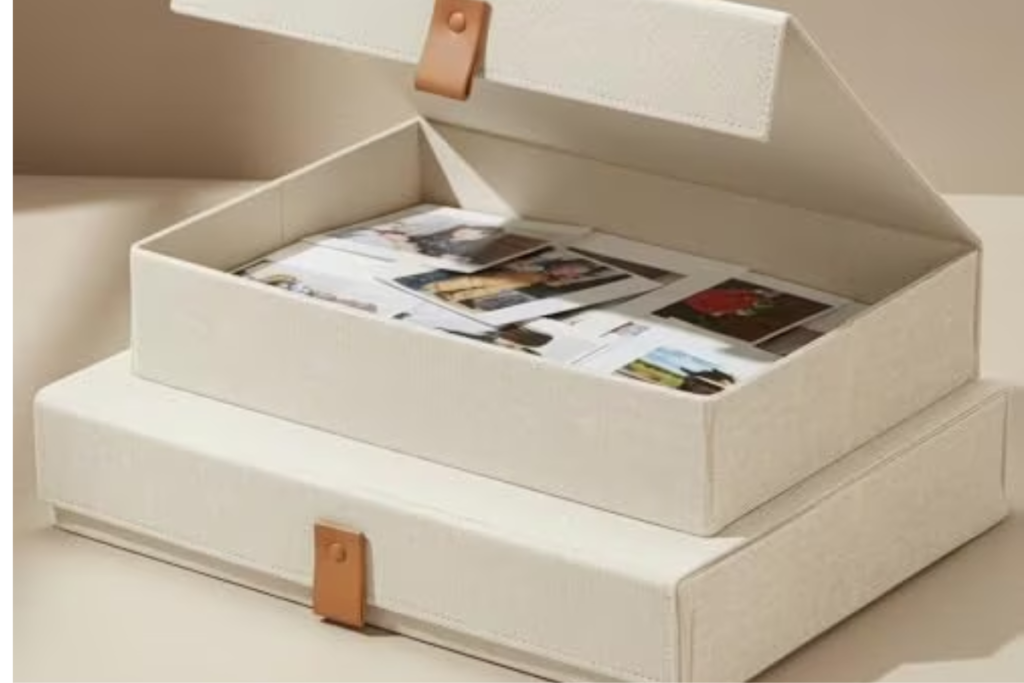
Keep:
- Legal documents
- Tax records
- Birth certificates
- Social security cards
- Medical records
- Insurance documents
- Warranties
When in doubt, ask: Will I ever need this again?
Step 6: Go Digital When Possible
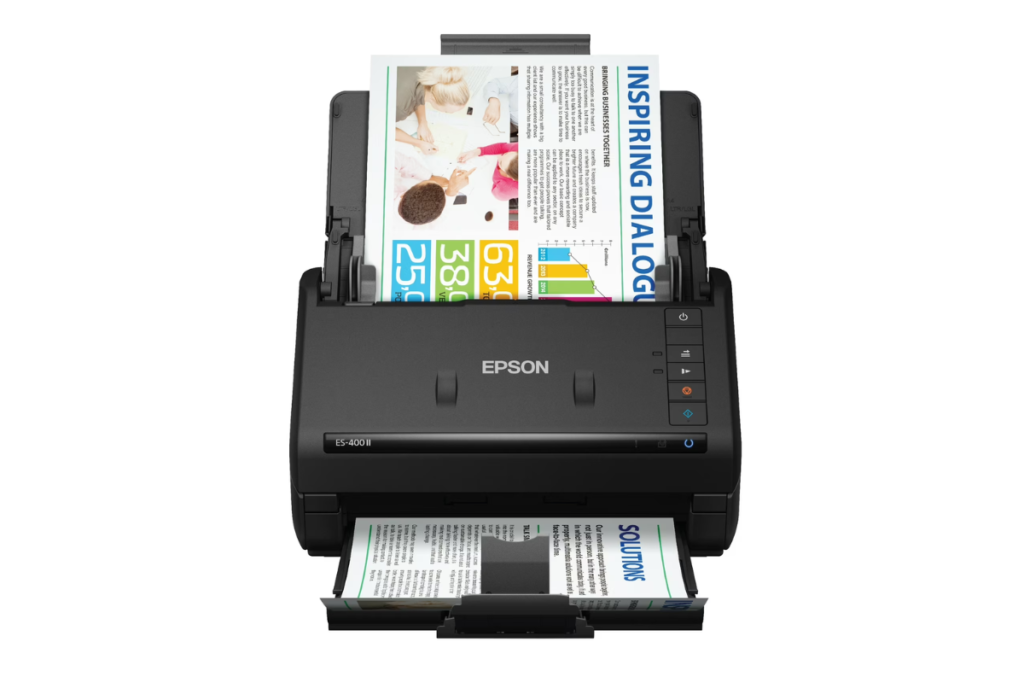
Scanning important papers can drastically reduce clutter.
You can store documents in:
- Google Drive
- Dropbox
- iCloud
- A dedicated document app
Be sure to back up anything important.
Step 7: Create a Maintenance Routine
Paper clutter doesn’t come from one big mess—it comes from tiny daily habits.
Try this:
- Sort mail immediately
- Shred junk daily
- File important papers weekly
- Purge folders every 3–6 months
Even five minutes a week makes a huge difference.
Step 8: Make It Gentle and Sustainable
Paper organization isn’t about perfection—it’s about peace.
Choose containers you like. Label clearly. Create a system that fits your life, not someone else’s Pinterest board.
Final Thoughts
Organizing your papers gives you more than a tidy space—it gives you clarity, confidence, and calm. When you know where everything is, you save time, reduce stress, and stop feeling behind.
Start small. One stack. One drawer. One folder. You will think yourself for starting your paper organization journey.
You don’t need to do it all today.
Now that you have the paper organized let’s tackle the pantry